 Previous Step
 Contents

|
Previous Step
|
Creating a FMC Diagram with Visio - Step 5 |
Contents
|
Next Step
|
Always use the connection points. When arcs like the channel are connected to the connection points of the shapes at both ends, the arcs will move and automatially route when those shapes are moved. This is an essential feature of Visio.
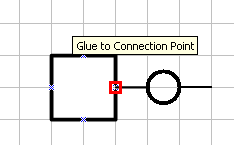
Note: A single connection point can hold multiple shapes! Also, the connection to a connection point is virtual, the shape does not have to visually touch the connection point. Therefore it is not necessary to create new connection points apart from the standard ones in the FMC shapes.
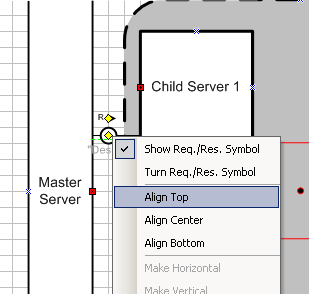
Use the context menu. Many FMC shapes have specific actions and options available in the context menu. You access it by right-clicking on the shape.
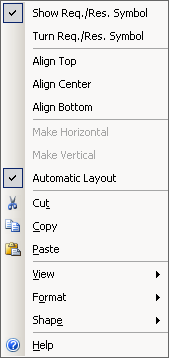
Everything above Cut, Copy and Paste are shape-specific options or actions.
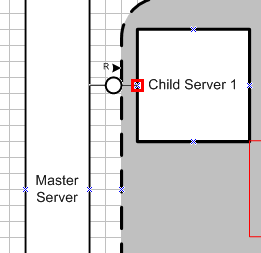
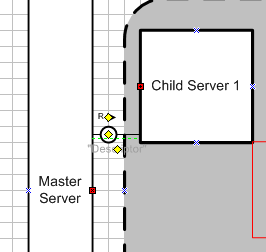
At first, we will connect the Master Server with the Child Server 1. We use a Communication Channel.
Connect the right end of the channel with the connection point of the child server.
Grab the left end of the channel and connect it with the connection point of the Master Server below.
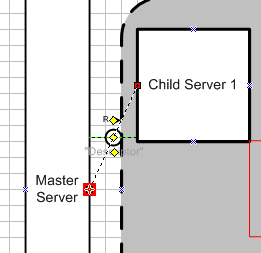
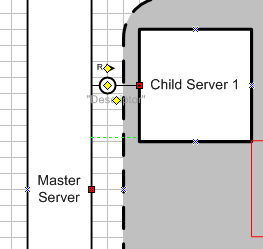
Grab the central control point in the middle of the channel and move it to the left so that the circle is centered in the two-cell gap between the Master Server and the structure variance. It should snap to the grid.
In the channel's context menu select align top.
The placement of the channel is finished.
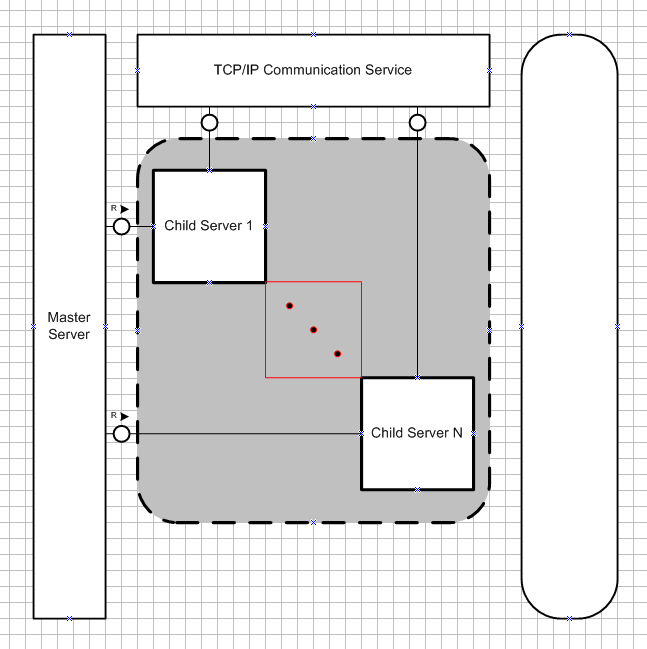
The other three channels are placed in the same way.
|
Previous Step
|
Creating a FMC Diagram with Visio - Step 5 |
Contents
|
Next Step
|