 Previous Step
 Contents

|
Previous Step
|
Creating a FMC Diagram with Visio - Step 7 |
Contents
|
Next Step
|
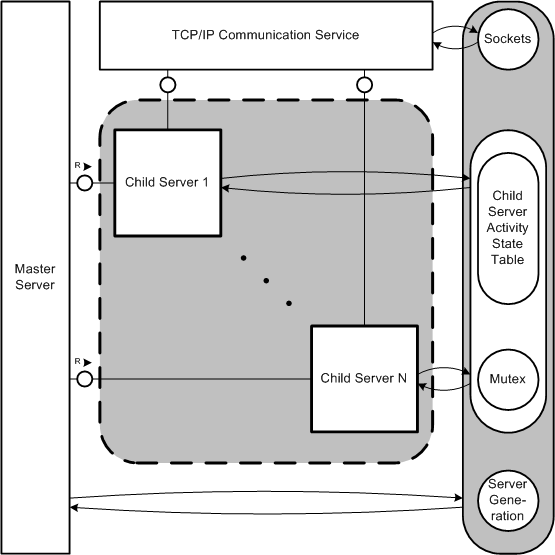
We will now connect the storage shapes with the agents. There are four modify access shapes needed. Use them like the channel shapes in step 5. Ensure that you
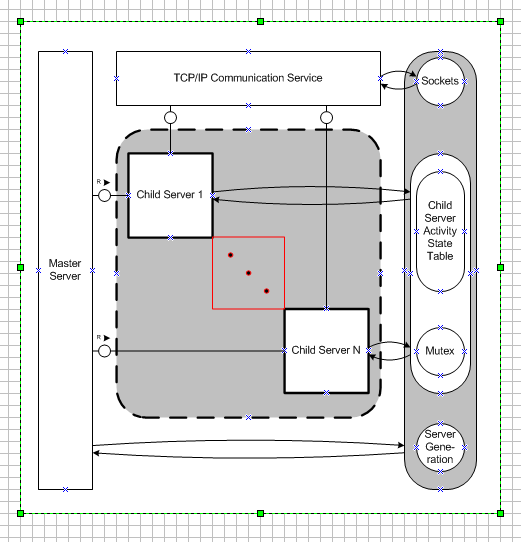
Grouping shapes. Multiple shapes can be grouped to a single shape (CTRL + G). This avoids the modification of their relative positions as the grouped shape is moved. Ungrouping is possible with CTRL + SHIFT + U (CTRL + U in Visio 2000).
Layering shapes. Shapes can be above or below other shapes, just like a playing card deck. You can change the order step by step (the two buttons on the right of the toolbar) or bring the shape to the front (CTRL + SHIFT + F or CTRL + F in Visio 2000) or send it to the back (CTRL + SHIFT + B or CTRL + B in Visio 2000).
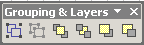
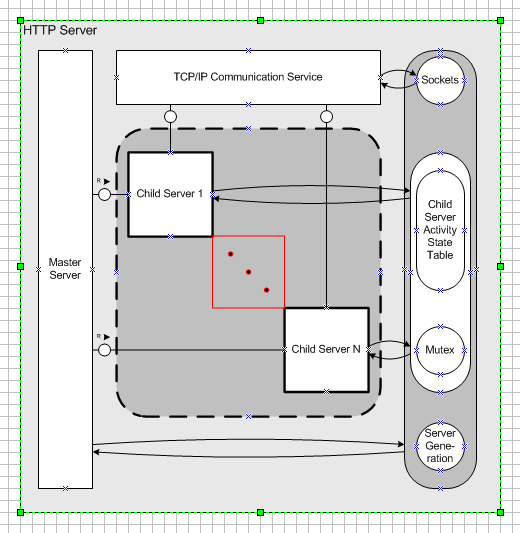
As the main HTTP server is finished now, it is possible to add a grouping shape for the entire server. First of all select all internal HTTP Server components and group them.

Now drag and drop an agent onto the document. Send it to the back, then position and resize it so that the internal components of the HTTP server are surrounded by it.
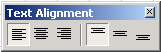
Text alignment buttons normally reside on the toolbars Format and Format Text.
Format the shape with a light fill color and enter the name (use 12pt as font size). The standard position in the center of the shape is not good in this case, the text should be placed in the top-left corner for example.
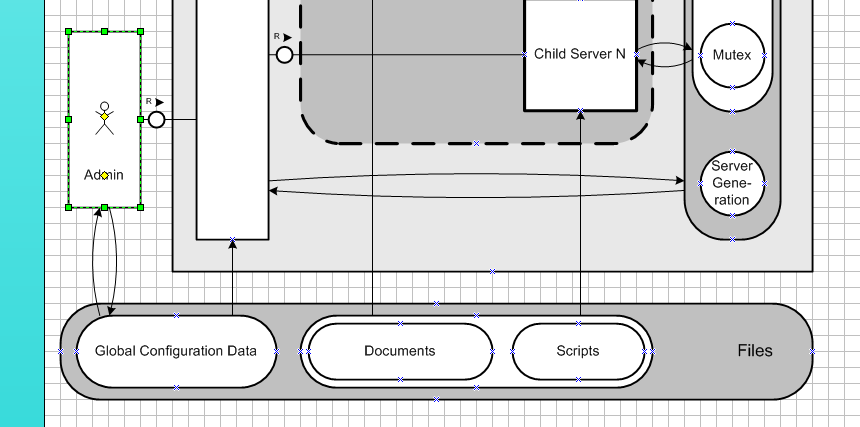
Now you should be able to add the Admin agent and the Documents/Files storage at the bottom. Note: Use an human agent shape for the admin. After you have entered a name, you can move it around with a yellow control point.
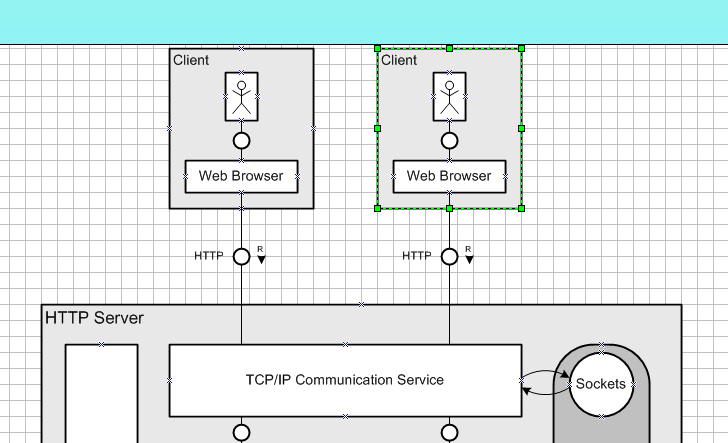
Draw one client, group and duplicate it to save work.
|
Previous Step
|
Creating a FMC Diagram with Visio - Step 7 |
Contents
|
Next Step
|